
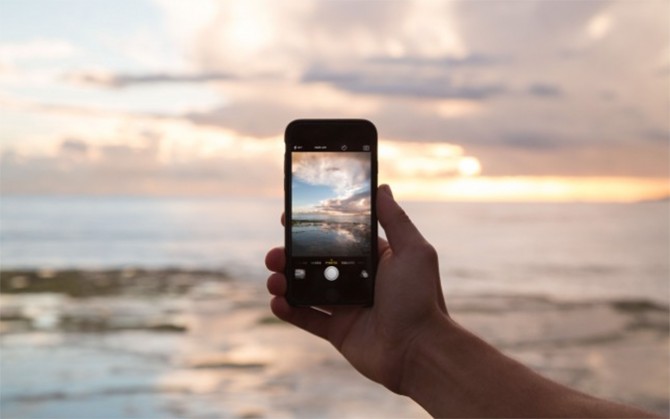
If you don’t have $500 bucks lying around to spend on the latest action sports camera, you can still get some pretty rad shots with your phone. And most iPhone’s, if that’s your choice, have cameras, duh (which, BTW, are getting better everyday). While you’re multi-tasking with your hand-held computer, document your outdoor-loving life with an instrument you have with you most of the time. Here are four ways to improve your iPhone photos to make your play look that much better.
Don’t Use the Zoom
The zoom function on the iPhone is, how should we put this, lacking. The zoom isn’t for the lens, which is the main problem. It’s actually your phone’s sensor pulling in the actual image, which degrades the image quality as it plays with the resolution. Essentially, with the iPhone, you are the zoom. Walk, run, skip or saunter towards the subject to make the subject more of a focal point in the photo.
Make the Focus Choice
What subject do you want to be in focus? Point your camera then tap your finger on the screen, directly on the subject you want in focus. The yellow box will appear signifying that your surfboard, skateboard, snowboard, cat on a tramp, whatever will remain crystal clear. Snap the shot.
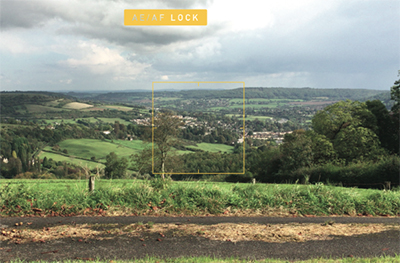
Experiment with Framing
Your camera always goes back to auto focus after you snap the shot of your friend shotgunning, so take it off auto focus for a sec and use the tap function. To get tricky with your framing (think rule of thirds), tap your finger and hold on the subject you want in focus and the yellow AE/AF lock will appear. Now you can get more of the backdrop in the shot and keep your subject in focus without always having him, her or it smack dab in the middle of the frame. It’ll look cooler (think, more arty). You can also bring up the grid to actually see the rule of thirds: Go to settings, then Photos & Camera and toggle the Grid switch on.
Adjust your Exposure
You can always fix photos after the fact but if you adjust when you’re shooting, it’ll make for a higher quality photo. When you have that yellow AE/AF box holding your focus on the subject, you can also adjust your exposure by moving your finger up and down to the right of the box where a line will appear with a sun icon. Move up and the image brightens, down and you’ll get the opposite result.
